There’s something uniquely satisfying about cooking with herbs you’ve grown yourself — herbs whose journey you’ve followed from tiny seed to fragrant leaf. If you’ve never grown herbs from seed before, spring in the UK is the ideal time to start. Here’s a friendly, step-by-step guide for complete beginners.
Step 1: Gather Your Supplies
You don’t need much to get started:
- Seed trays or small pots (recycled yogurt pots work brilliantly)
- Seed compost — finer than general compost and better for germination
- A propagator lid or cling film to retain warmth and moisture
- Labels — you’ll forget what you planted, trust us
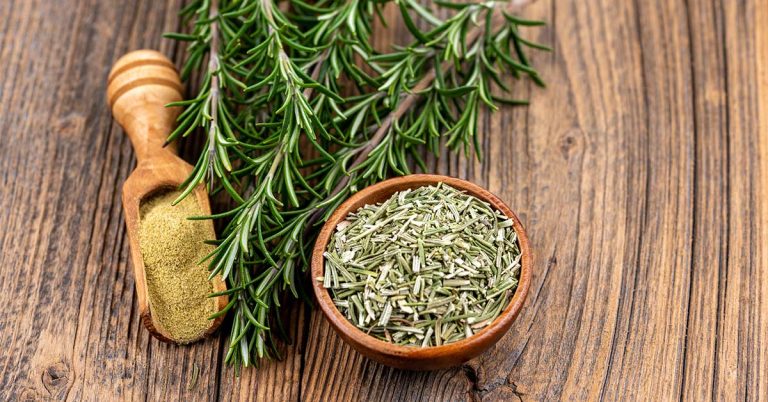
- Seeds — start with easy varieties like chives, basil, parsley, and dill
Step 2: Sowing Your Seeds
Fill your seed tray with damp compost and gently firm it down. Sow seeds thinly on the surface (for fine seeds like basil) or press them lightly into the compost about 1cm deep (for larger seeds like coriander or dill). Cover with a fine layer of vermiculite or compost, then place in a warm spot — a windowsill above a radiator is perfect in early spring.
Most herb seeds germinate within 7–21 days, depending on the variety and temperature.
Step 3: Caring for Seedlings
Once your seedlings appear, remove any propagator lid to improve airflow and prevent damping off (a fungal condition that causes seedlings to collapse at the base). Water gently — a small watering can with a fine rose head is ideal — and keep the compost just moist, not soggy.
When seedlings have their second set of true leaves, it’s time to “prick out” — carefully transplanting each seedling into its own small pot to give it room to grow.
Step 4: Hardening Off & Planting Out
Before your indoor-raised seedlings go outside permanently, they need to acclimatise to outdoor conditions. Place them outside in a sheltered spot for progressively longer periods over 7–10 days. This prevents the shock of sudden temperature and wind changes.
From late May onwards (earlier in the South), most herbs can be planted out into their final positions — pots, raised beds, or borders.
Step 5: Your First Harvest
The golden rule of herb harvesting is: little and often. Pinching out the tips of basil regularly encourages bushy growth and delays flowering. Snipping chives and parsley from the outside in allows the plant to keep producing. The more you harvest, the more most herbs will give back.
By midsummer, you’ll be adding fresh herbs to your cooking daily — and wondering why you didn’t start sooner. Happy growing!